 |
|
|
|
|
|
|
|
|
|
|
|
|
|
|
|
|
|
|
|
|
|
|
|
|
|
|
|
|
|
|
 |
|
 |
|
 |
|

|
|
|
|
|
|
|
|
Mission 5: Deathshead's Playground Part 1: Ice Station Norway
Objectives:
1) Breach X-Labs outer compound.
2) Gain access to main secure Lab area.
|
|
|
|
|
|
|
|
|
|
|
|
 |
|
|
|
|
|
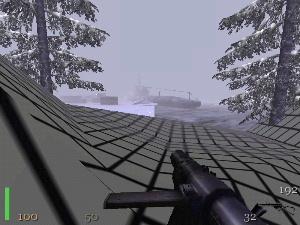
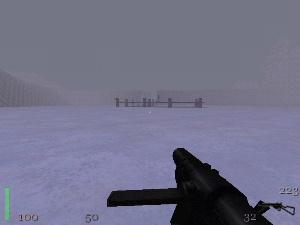
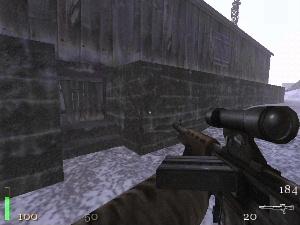
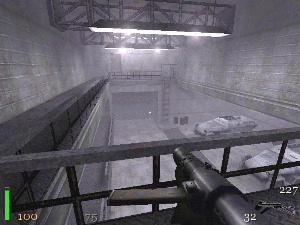
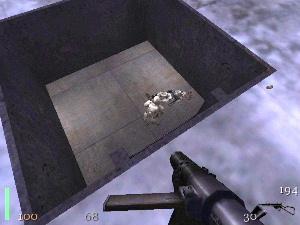
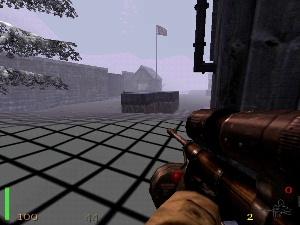
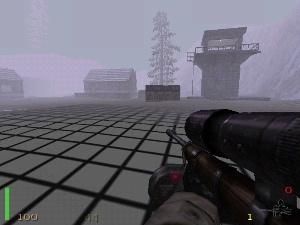
Excuse the textures on this level. Something's gone wrong. You will start with this view of a sub and some crates to the left of it. Get out the Snooper.
|
|
|
|
|
|
|
|
|
|
|
|
|
 |
|
|
|
|
|
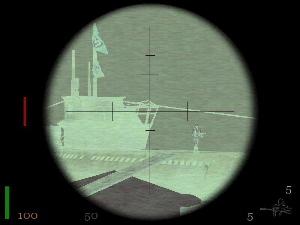
You will clearly see this patrolling guard. Snuff him out when he reaches the right hand end of your field of view. When he's gone move down to the left of the crates. At a certain point a comical scripted sequence will kick in.
|
|
|
|
|
|
|
|
|
|
|
|
|
 |
|
|
|
|
|
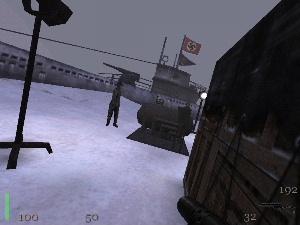
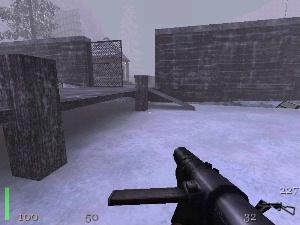
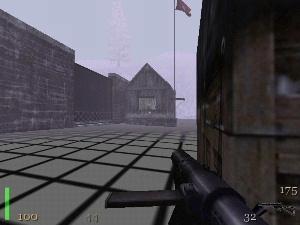
Move forward until you reach this point. You will see two guards near a generator. Don't shoot yet, but when you do make sure you don't hit the machinery. It's explosion will bring others running.
|
|
|
|
|
|
|
|
|
|
|
|
|
 |
|
|
|
|
|
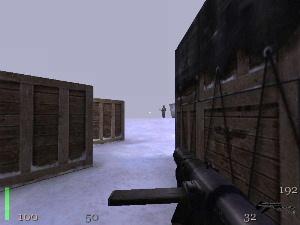
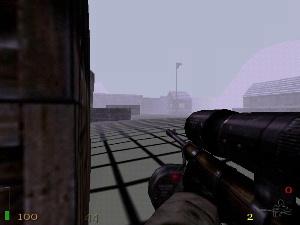
Back up a little until you reach this point. As one of the men passes the subs bow Sten him. Creep forward again and hit the other one.
|
|
|
|
|
|
|
|
|
|
|
|
|
 |
|
|
|
|
|
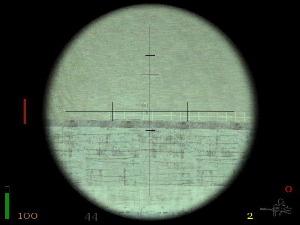
Forward of the sub is this raised platform. A soldier patrols left and right. It's up to you if you want to use the Snooper (safest bet), or you can time it so that you can sneak up from behind and use the Sten.
|
|
|
|
|
|
|
|
|
|
|
|
|
 |
|
|
|
|
|
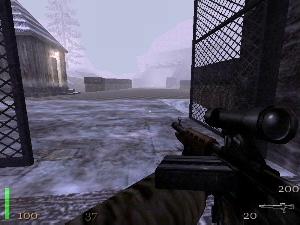
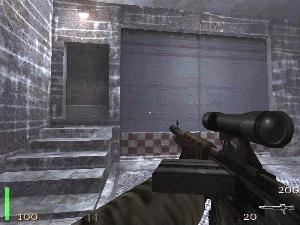
Past the platform is this gate. Enter it crouched and from the right side.
|
|
|
|
|
|
|
|
|
|
|
|
|
 |
|
|
|
|
|
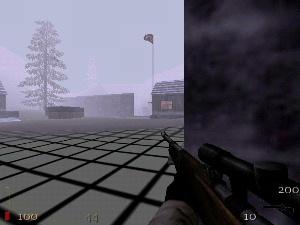
A little bit of orientation. To the left is a hut with an Armoured jacket if needed. Don't grab it yet though. Ahead is the outer base area. Move to the right behind those crates.
|
|
|
|
|
|
|
|
|
|
|
|
|
 |
|
|
|
|
|
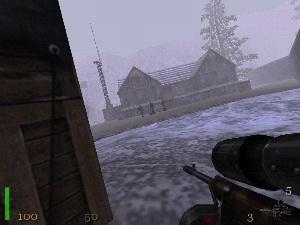
Beyond, three paratroopers standing in front of a hut discuss Eric and some bad water. Careful use of the Snooper will kill them before they can raise the alarm.
|
|
|
|
|
|
|
|
|
|
|
|
|
 |
|
|
|
|
|
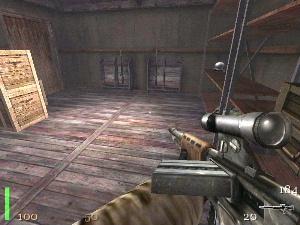
Run around the back of the hut and break these pieces of wood to reach the only secret area on this level.
|
|
|
|
|
|
|
|
|
|
|
|
|
|
|
|
|
|
|
|
|
 |
|
|
|
|
|
|
|
|
|
|
 |
|
|
|
|
|
Leave via the front and approach the outer base at this angle. Get ready with the Snooper as another trooper emerges from a door on the top level when you get close.
|
|
|
|
|
|
|
|
|
|
|
|
|
 |
|
|
|
|
|
You can progress via either of two floors. This is the lower giving you easier access to two mechanics in the recess.
|
|
|
|
|
|
|
|
|
|
|
|
|
 |
|
|
|
|
|
This is the view from the top. In either case more guards will appear. Go to the far end and carefully open the door.
|
|
|
|
|
|
|
|
|
|
|
|
|
 |
|
|
|
|
|
This view from the top floor gives a good look at this tower. Inside is a soldier near an alarm box. He must be rid off. The Snooper will be your best bet.
|
|
|
|
|
|
|
|
|
|
|
|
|
|
|
|
|
|
|
|
|
 |
|
|
|
|
|
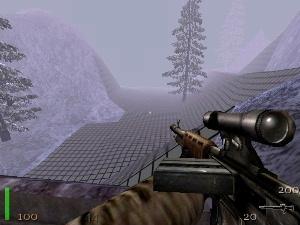
Run around behind the tower and head off to the right.
|
|
|
|
|
|
|
|
|
|
|
|
|
 |
|
|
|
|
|
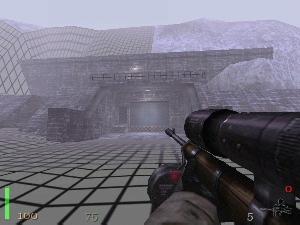
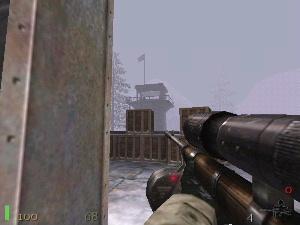
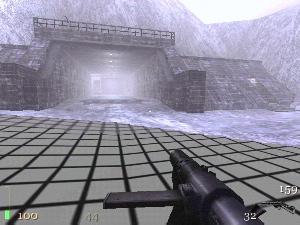
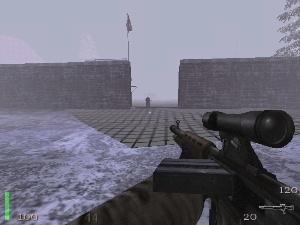
Along this trail you will reach this bunker. Snipe those that you can before you get too close.
|
|
|
|
|
|
|
|
|
|
|
|
|
 |
|
|
|
|
|
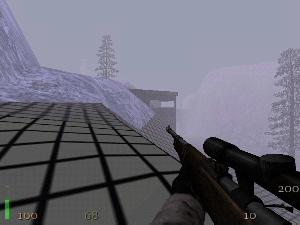
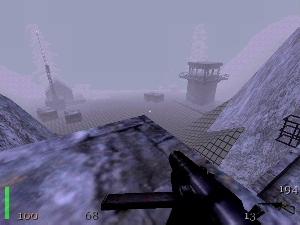
As you reach the brow of the hill note that you can go by one of two routes. You want to clear the area to the right first, but always be mindful that enemies will approach from both directions.
|
|
|
|
|
|
|
|
|
|
|
|
|
 |
|
|
|
|
|
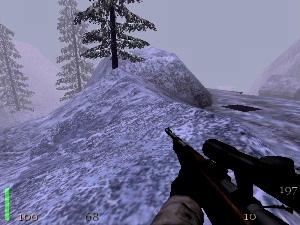
Sneak up to the ladder top. Drop a grenade and drop down if necessary to clear this part out.
|
|
|
|
|
|
|
|
|
|
|
|
|
 |
|
|
|
|
|
At this point check your six. Two more troopers should arrive from behind.
|
|
|
|
|
|
|
|
|
|
|
|
|
 |
|
|
|
|
|
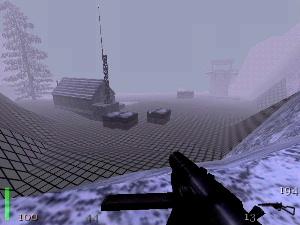
Back on top of the bunker gives you a good view of the layout. Be mindful that if you can see them, then ...
|
|
|
|
|
|
|
|
|
|
|
|
|
 |
|
|
|
|
|
Take the other route down and snipe some more from here if needed. Skirt down the left hand side of the foreground building.
|
|
|
|
|
|
|
|
|
|
|
|
|
 |
|
|
|
|
|
At the end make for those crates.
|
|
|
|
|
|
|
|
|
|
|
|
|
 |
|
|
|
|
|
You should be able to crouch up to this hut beyond the gate and Sten the soldier inside. This hut holds the button that opens the gate but head back first to do more clearing up.
|
|
|
|
|
|
|
|
|
|
|
|
|
 |
|
|
|
|
|
Go back to the other end of the building you ran behind and position yourself by these crates. Looking back to the gate equip the Snooper.
|
|
|
|
|
|
|
|
|
|
|
|
|
 |
|
|
|
|
|
Above the wall patrols another guard. He can't see you through the gloom. Snipe him.
|
|
|
|
|
|
|
|
|
|
|
|
|
 |
|
|
|
|
|
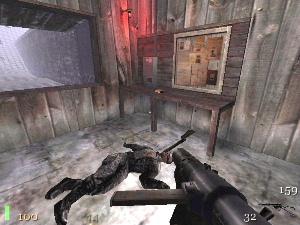
Check out the nearest hut for more enemies.
|
|
|
|
|
|
|
|
|
|
|
|
|
 |
|
|
|
|
|
Then run across and check out the other one and that tower.
|
|
|
|
|
|
|
|
|
|
|
|
|
 |
|
|
|
|
|
When done, head back to the gatehouse now and press the button. Pick up Mauser rounds first.
|
|
|
|
|
|
|
|
|
|
|
|
|
 |
|
|
|
|
|
As the gate opens run around the back of this second building and scope out the gate area with your Mauser. Kill any resistance beyond.
|
|
|
|
|
|
|
|
|
|
|
|
|
 |
|
|
|
|
|
Approach the gate with care. You need to go straight ahead, the steps off to the right don't go anywhere.
|
|
|
|
|
|
|
|
|
|
|
|
|
 |
|
|
|
|
|
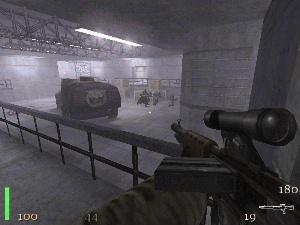
Get ready for action, the Paratroop Rifle will do best, and open that smaller door.
|
|
|
|
|
|
|
|
|
|
|
|
|
 |
|
|
|
|
|
Inside are several guards, two of which carry Venom guns. Duck in and out firing off in controlled bursts.
|
|
|
|
|
|
|
|
|
|
|
|
|
 |
|
|
|
|
|
Continually check your back. At some point more will approach from behind trying to make a meat sandwich out of you. I usually switch to the Thompson and charge them before returning to the main arena.
|
|
|
|
|
|
|
|
|
|
|
|
|
 |
|
|
|
|
|
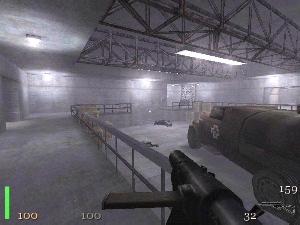
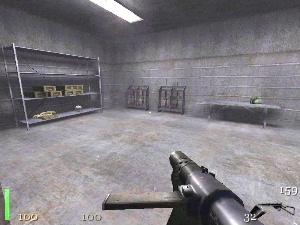
When the last one drops enter this part and note three potential exits. To the left is a doorway leading to some much needed goodies. See first pic below. To the right is an opening that leads to a dead end. In the middle are some barrels in a recess.
|
|
|
|
|
|
|
|
|
|
|
|
|
 |
|
|
|
|
|
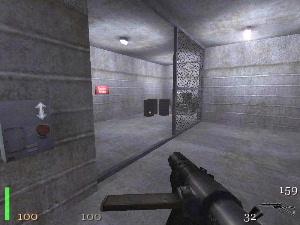
Check this area out first.
|
|
|
|
|
|
|
|
|
|
|
|
|
 |
|
|
|
|
|
See those barrels. They will open up another way out.
|
|
|
|
|
|
|
|
|
|
|
|
|
 |
|
|
|
|
|
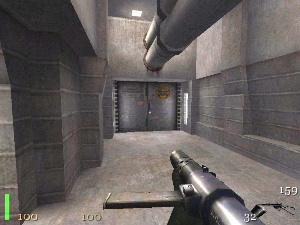
Job done. Go through and turn left.
|
|
|
|
|
|
|
|
|
|
|
|
|
|
|
|
|
|
|
|
|
 |
|
|
|
|
|
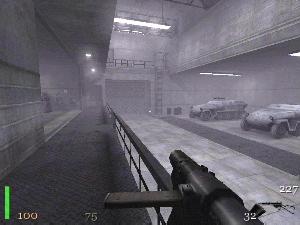
The delight that is the X-Labs lays ahead.
|
|
|
|
|
|
|
|
|
|
|
|
|
|
|
|
|