


|
Mission 4: Deadly Designs Part 4: Secret Weapons Facility |
||
|
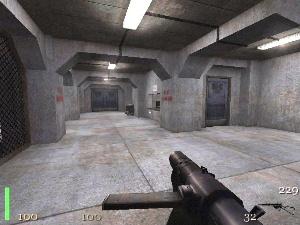
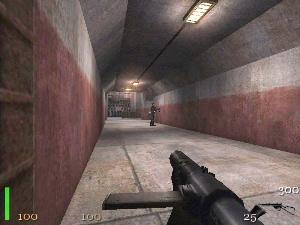
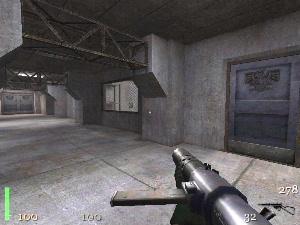
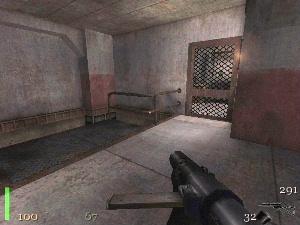
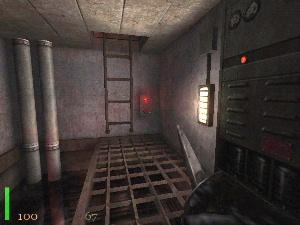
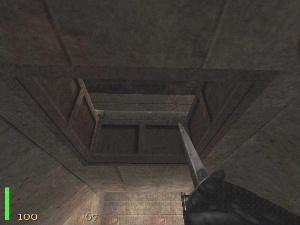
After the lift descends and the doors open make your way to that door on the right. Open it and Sten the soldier inside. Another guard will come through those double doors ahead so make short work of it. |
||
|
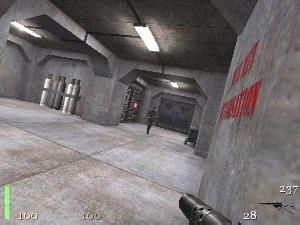
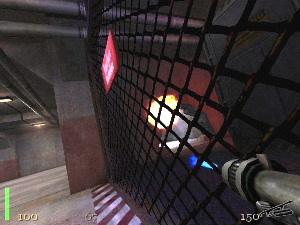
Back outside lean around the corner to get his angle. See those cylinders against the wall ? Lob a grenade when you have finished with the grunt and stand back. |
||
|
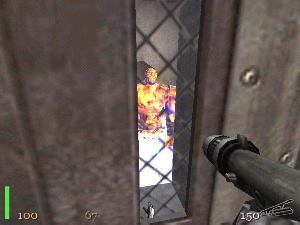
The net result is a hole in which you can access various goods. |
||
|
|||||||||

|
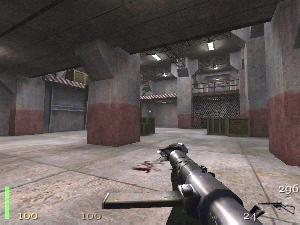
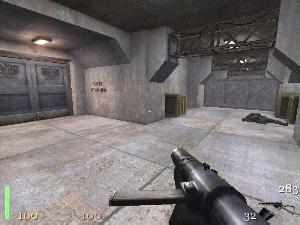
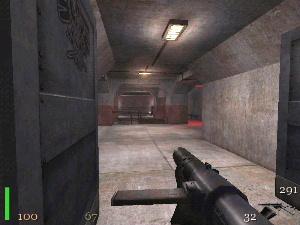
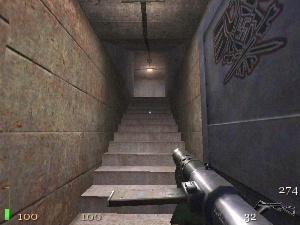
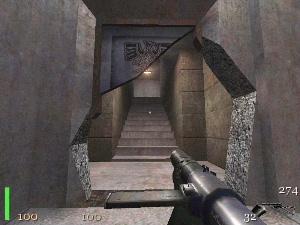
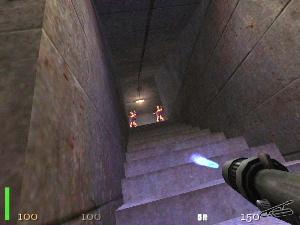
Stock up and head through the double doors. Don't forget the supply room when in times of need. Out here three more enemies await your Sten. The only way on from here is down those stairs. |
||
|
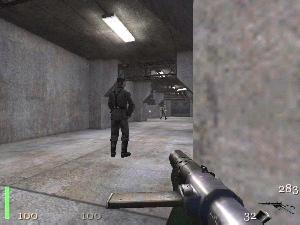
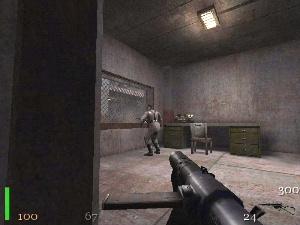
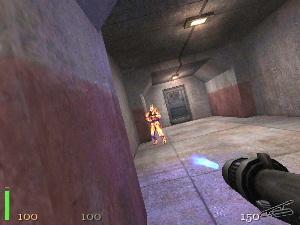
Further along is this area with an attendant technician and guard. |
||
|
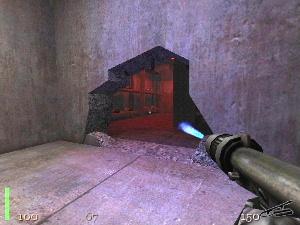
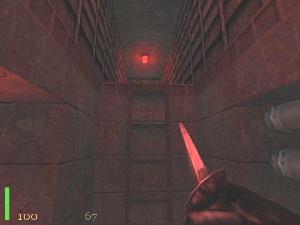
Cross over the raised area and head up this tunnel. |
||
|
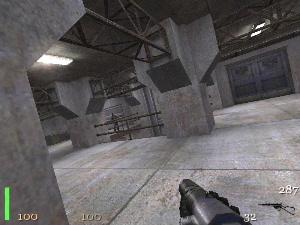
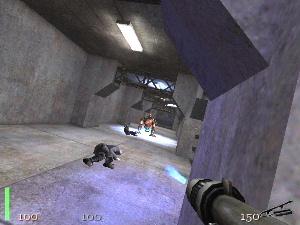
As this area opens up beware the ambush from above. One of these men has a rocket. |
||
|
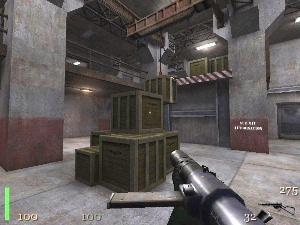
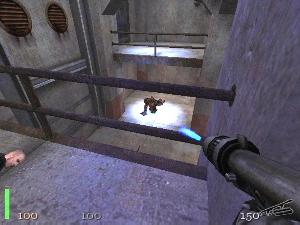
Use these crates to climb up to the top level. |
||
|
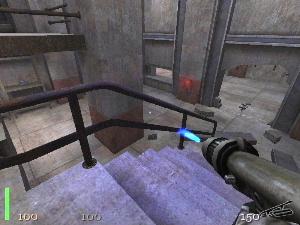
As you reach the top another German comes running. For reference, he is towards where the Sub pen is. Right now you can't get across there. You have much more work to do first. |
||
|
Time to orientate yourself. Turn right and face this way. To the left through those double doors is the passageway to take you back to the supply room and where you entered this level. That other single door holds very little. Turn around now. |
||
|
To the right of this shot is a raised platform barring progress to the Sub Pen. You get to lower it later. Take those double doors on the left. |
||
|
Approach and lean around the corner. Two more victims await your Sten. |
||
|
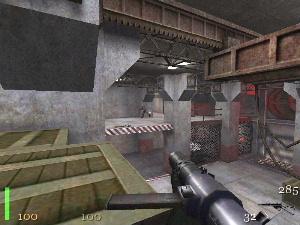
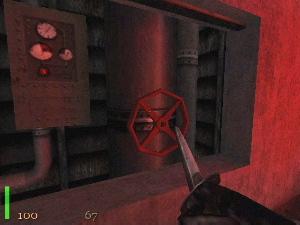
Move up to the left and lean to get a view of this guard with a Mauser. Behind him is a panel that can be opened to get your first view of a Loper. When done enter those double doors ahead. |
||

|
Going through here results in a Loper attacking a guard. Although it's not pleasant, let him see you and give chase. Run back to the double doors some way back from here. |
||
|
As you disappear he will give up the chase. Lean around the corner and use the flamethrower to roast it. If he is too far pop out and lure him closer before retreating far enough to lose him. |
||
|
Another Loper prowls beneath where you killed the Mauser guard. Again torch him utilising the lean function. |
||
|
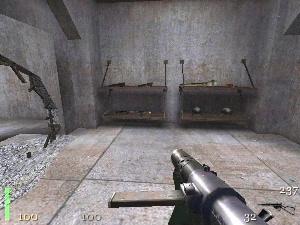
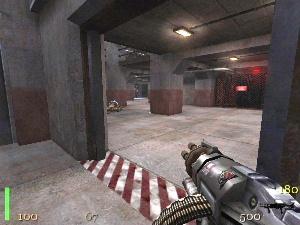
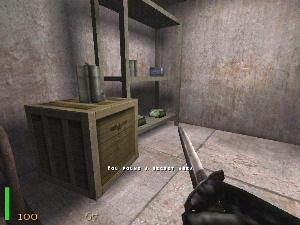
Go back down and collect the Venom gun at the foot of the stairs. Stock up from the shelves on the left. |
||
|
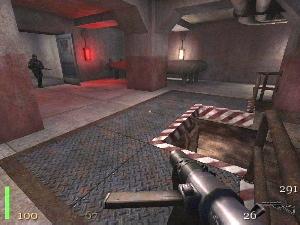
Entering the next area will let you witness another freak of science attacking a worker. As this happens either run back upstairs or hide behind a convenient pillar and use the flamethrower again. When ready move to that fenced off area ahead. |
||
|
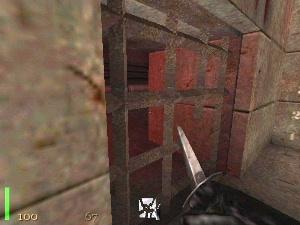
If you look to the left in here you will note crumbling masonry. It's at the back of a Loper holding cell. Shoot it out and use the torch to fry the monstrosity inside. |
||
|
If you run around to the main door you can watch him baste. |
||
|
Open up the door and enter the secret area. |
||
|
|||||||||

|
Return outside and locate this single door. The others will not open. Go through. |
||
|
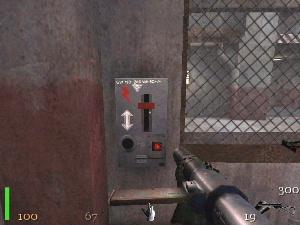
Kill this lone guard and locate the switch on the wall that will allow you to head towards the Sub Pen. |
||
|
There are a couple of switches in here. This is the one that you want. From here you have two choices. If you take the other door in this guard room it takes you back to the crate hopping area but you will run into three soldiers, one with a Panzerfaust. I prefer to back track to the top floor of this area. You will still have the three soldiers to contend with but it is easier from up top. |
||
|
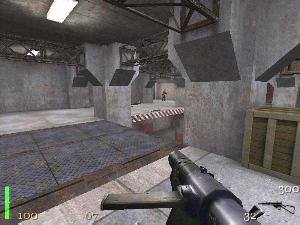
Back at the top level of the crate room now and the way is clear. Another soldier joins the famous three below. Head off in his direction. |
||
|
Beyond that door is a lone worker to nobble. To the left is the next part of this level. |
||
|
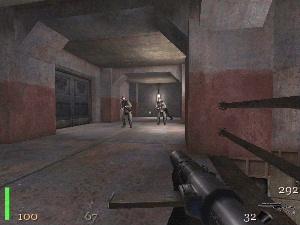
As you go down the stairs you will encounter more opposition. As you reach this point more soldiers appear. Those doors on the left go towards the Sub Pen but now go around to the right. |
||
|
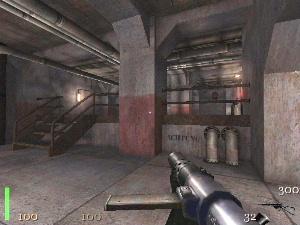
Behind that locked door are more goodies. It is classed as a Secret Area but the running around you do hardly seems worth it. I will cover how to get to it though. You will also note a ladder off to the left. Don't go down them yet. Remember this part. |
||
|
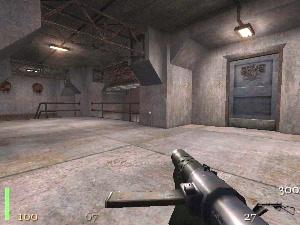
Go back and enter those double doors. In the right hand corner is an armed worker that hides quickly. Catch him and kill him fast. |
||
|
Moving forward a pair of doors will open to the left. A paratrooper steps out from what is the entrance to the Sub Pen. When he has been dealt with jump in to the water to the right of this shot. |
||
|
Behind some silver pipes is this grating to break and enter. |
||
|
Further exploration will bring you to here. Press the button and climb up. The button releases a couple of panels later on. |
||
|
You will find another ladder to climb. |
||
|
This leads to a panel and a wheel that will flood a previously visited area. |
||
|
Make your way back but look out for a panel that you can activate. Open it and enter a familiar part of the level. |
||
|
Go back to the spot I told you to remember. Instead of looking at the door go down that ladder. The flooded water here allows you to swim up an access port and claim the supplies and ammo. |
||
|
Phew ! I hope it was worth it. |
||
|
|||||||||
|
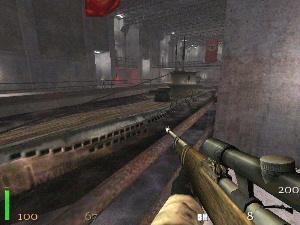
Go back into the room where you entered the water to get to the secret and take the door that the paratrooper came out of. Go through another set of doors and here will be the sub. It departs as you enter, don't waste time or ammo trying to stop it. From here you will see a few more troopers closing in on the far side. |
||
|
|||||||||

|
Moving down the other side now there are some things to look for: 1) In the far corner is a door that leads to a supply room 2) On this side about halfway down is the door that you need to take to move on 3) On the opposite side from here is door about halfway up. There are some barrels near it. There is also another guard near the crates over there to take care of. |
||
|
Zoom in on the barrels and shoot to blast an exit that you will get to later. |
||
|
On this side take that door halfway down. At the top of these stairs turn left. |
||
|
Around another corner is this guy to fry. Forget that door behind him. |
||
|
Turn around and go out another door. You will come out here. That door ahead is locked so jump up onto the railing. |
||

|
Use the ledge and lower railing to break your fall. |
||
|
You are now at the door that was blown apart by the barrels. |
||
|
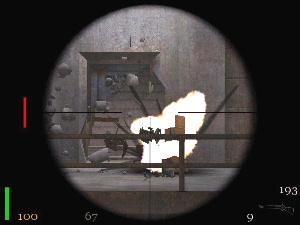
As you go through two more troopers emerge. Get out your flamer. |
||
|
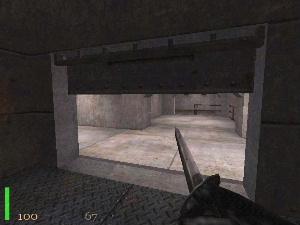
Up and to the right is the exit. |
||
|
|||||||||