 |
|
|
|
|
|
|
|
|
|
|
|
|
|
|
|
|
|
|
|
|
|
|
|
|
|
|
|
|
|
|
 |
|
 |
|
 |
|

|
|
|
|
|
|
|
|
Mission 7: Operation Resurrection Part 2: Return to Castle Wolfenstein
Objectives:
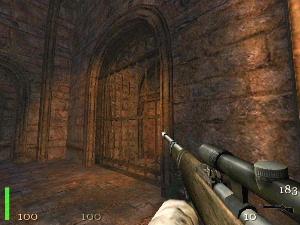
1) Locate the entrance to the main dig site.
|
|
|
|
|
|
|
|
|
|
|
|
 |
|
|
|
|
|
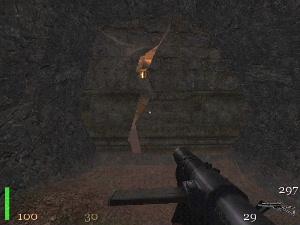
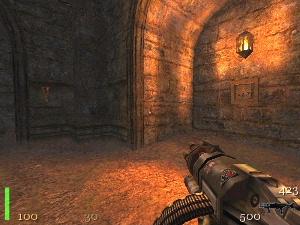
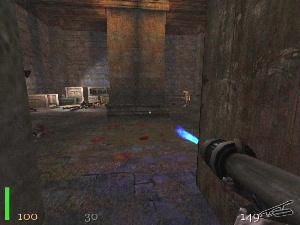
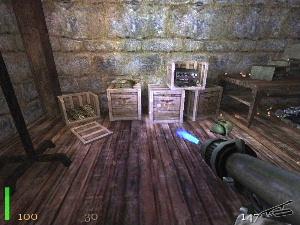
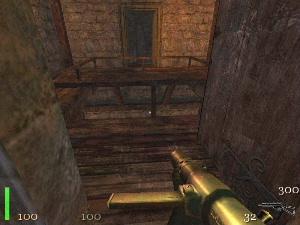
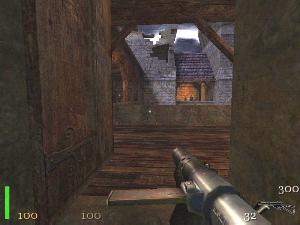
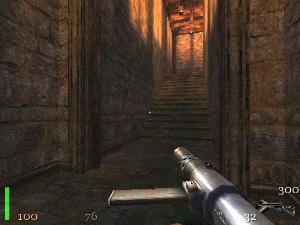
Break through this crack in the wall and move forward a little bit in to a creepy room to trigger four zombies arising from the ground. Edge back inside and get the flamer out.
|
|
|
|
|
|
|
|
|
|
|
|
|
 |
|
|
|
|
|
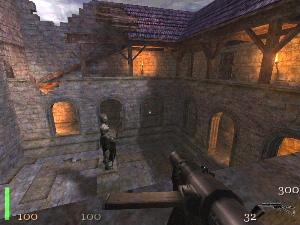
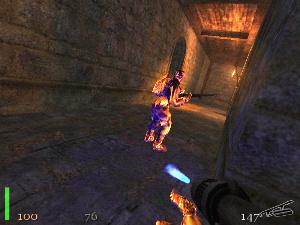
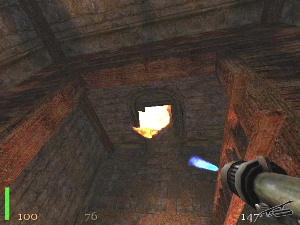
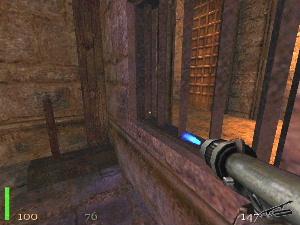
From in here you should be able to torch each one as they try to close in on you. If any of them get too close for comfort use the Venom to shatter them
|
|
|
|
|
|
|
|
|
|
|
|
|
 |
|
|
|
|
|
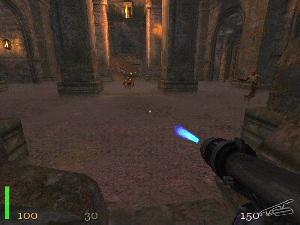
As they meet their end three knights break in from the left. More fireworks should snuff them out before they get within breathing distance. Lean and burn.
|
|
|
|
|
|
|
|
|
|
|
|
|
 |
|
|
|
|
|
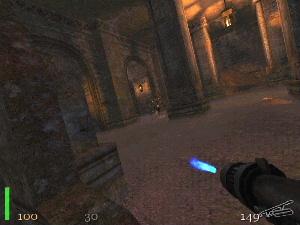
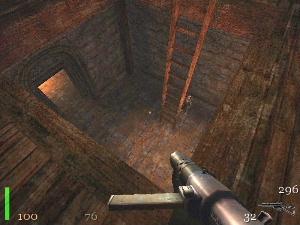
Go through the door that they broke in from.
|
|
|
|
|
|
|
|
|
|
|
|
|
 |
|
|
|
|
|
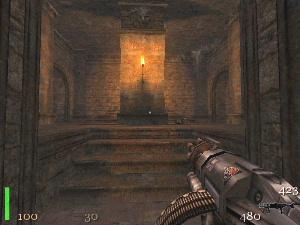
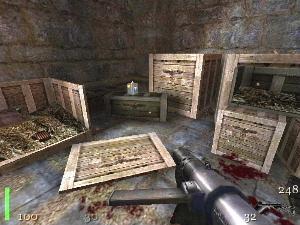
There's a panel on the wall to press to open up a gate at the other end of the room and two chalices to grab from some shelves. Nicking the treasure releases another zombie, mind.
|
|
|
|
|
|
|
|
|
|
|
|
|
 |
|
|
|
|
|
At the other end is a small crypt. From left and right a pair of zombies move in.
|
|
|
|
|
|
|
|
|
|
|
|
|
 |
|
|
|
|
|
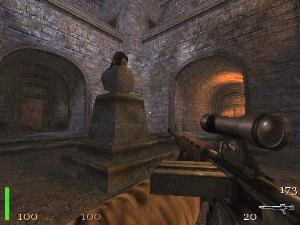
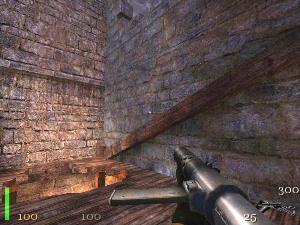
Shoot out one of the lower tomb walls to grab a lone gold bar.
|
|
|
|
|
|
|
|
|
|
|
|
|
 |
|
|
|
|
|
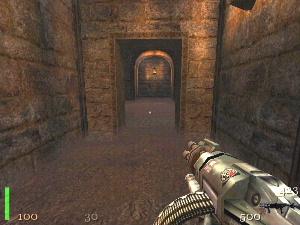
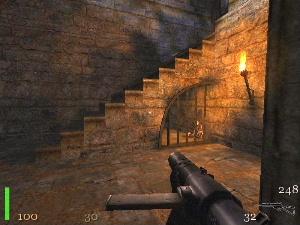
Moving on, before taking these stairs break those bars and crawl through to claim further riches.
|
|
|
|
|
|
|
|
|
|
|
|
|
|
|
|
|
|
|
|
|
 |
|
|
|
|
|
Through this door at the top of the stairs are three more undead. A couple are feasting on a corpse so take on the one on the right first.
|
|
|
|
|
|
|
|
|
|
|
|
|
 |
|
|
|
|
|
In the corner are more munitions to take. Also note an Armoured helmet lies on a table in here too.
|
|
|
|
|
|
|
|
|
|
|
|
|
 |
|
|
|
|
|
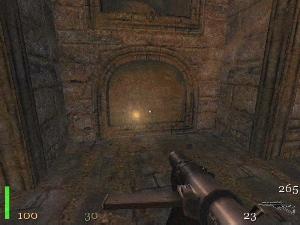
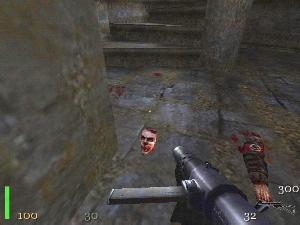
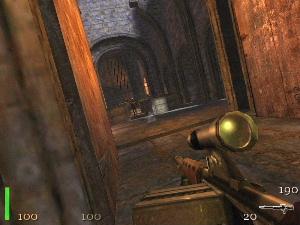
Other than a locked gate the only way out is up a spiral staircase. As you approach an ominous thudding leads to this head rolling to your feet.
|
|
|
|
|
|
|
|
|
|
|
|
|
 |
|
|
|
|
|
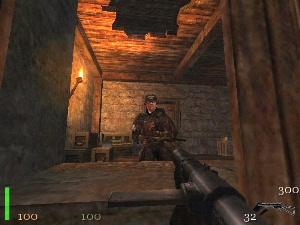
In the room upstairs two more zombies battle a paratrooper. Use of the flamer is required.
|
|
|
|
|
|
|
|
|
|
|
|
|
 |
|
|
|
|
|
In this room lies a precious Flak Jacket. If you don't need all of it yet save it for later.
|
|
|
|
|
|
|
|
|
|
|
|
|
 |
|
|
|
|
|
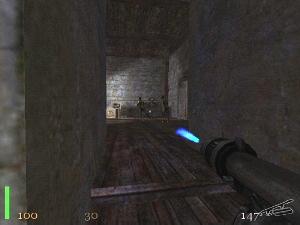
Exiting the door in here leads you outside. It also leads to two paratroopers rushing at you from your right hand side. Retreat back to the doorway as shown two pics above and flame these two as well.
|
|
|
|
|
|
|
|
|
|
|
|
|
 |
|
|
|
|
|
Back outside you can take shots at any enemies in the courtyard below as it will help you when you get down there. There will be a few at least. Move on to the far door by way of the left hand path. From the right it may be tempting just to drop down, don't do it.
|
|
|
|
|
|
|
|
|
|
|
|
|
 |
|
|
|
|
|
As you round this corner near that far door an Elite Guard runs out.
|
|
|
|
|
|
|
|
|
|
|
|
|
 |
|
|
|
|
|
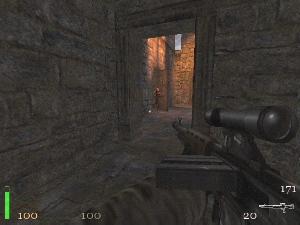
Through that door is this small room. On the other side is spiral staircase to negotiate with care.
|
|
|
|
|
|
|
|
|
|
|
|
|
 |
|
|
|
|
|
Down and out you go. To one side are large wooden double doors. This is your next route.
|
|
|
|
|
|
|
|
|
|
|
|
|
 |
|
|
|
|
|
As you approach them a gun battle rages behind. More Nazis are battling the undead. Position yourself to the left and lean to observe. During the battle a zombie gets wiped out by three Germans behind a far altar.
|
|
|
|
|
|
|
|
|
|
|
|
|
 |
|
|
|
|
|
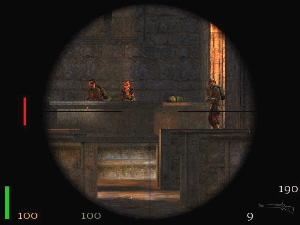
From this point use the scope and pop in and out to try and hit them all whilst sustaining little damage yourself. Note that guy on the right. He soon retreats back into that alcove behind him. If you can get him first and fast then do so.
|
|
|
|
|
|
|
|
|
|
|
|
|
 |
|
|
|
|
|
Either way you must move forward whilst keeping to the left though. When you reach a certain point the doors close and a gate drops behind you trapping you in.
|
|
|
|
|
|
|
|
|
|
|
|
|
 |
|
|
|
|
|
Taking another look inside you will see an opening half way up to the left. In here are two Elite Guards waiting to ambush you. If you still have to, edge forward whilst hugging the left wall, to get a shot to finish that guy if he lived and dived into the alcove. You don't want to confront fire from two different angles in here. In any case, when he's done for rush forward and head for the left hand end of that altar at the far end.
|
|
|
|
|
|
|
|
|
|
|
|
|
 |
|
|
|
|
|
Grab an opening to the left and sprint up these stairs as the Elites give chase. Carry on through that door and round a corner at the far end.
|
|
|
|
|
|
|
|
|
|
|
|
|
 |
|
|
|
|
|
From here lean and flame the bitches as they close in. Along this corridor you may notice a door. It is locked from this side.
|
|
|
|
|
|
|
|
|
|
|
|
|
 |
|
|
|
|
|
Taking another door nearby brings you out into the open air again. Two more paratroopers await your bullets. One is way across the yard, another is off to the left.
|
|
|
|
|
|
|
|
|
|
|
|
|
 |
|
|
|
|
|
Time to take stock of where you are. This shot is taken to the left of the last door you came out of. You will notice that diagonal beam dead ahead. That is a footbridge into a secret area as you will see in a moment. To the right is a semi boarded up window. In here is another trooper residing in the secret room. Below in the courtyard another para is hiding in that far corner behind the arches. He is extremely difficult to spot from here.
|
|
|
|
|
|
|
|
|
|
|
|
|
 |
|
|
|
|
|
Move carefully up to the boarded window and surprise him with a barrage of lead. Note the broken ceiling ? You will be dropping through there in a minute.
|
|
|
|
|
|
|
|
|
|
|
|
|
 |
|
|
|
|
|
Here's a closer look at that angled beam which leads to the secret area. First, jump over the gap, not down, and quickly spin around.
|
|
|
|
|
|
|
|
|
|
|
|
|
 |
|
|
|
|
|
By looking back now and crouching you can just see that hidden para. Finish him fast as he can clock you now too. Climb up the beam, break through some boards and move forward.
|
|
|
|
|
|
|
|
|
|
|
|
|
|
|
|
|
|
|
|
|
 |
|
|
|
|
|
Here you are at the secret room. Drop down, plunder what you want, and leave through the only door. This will take you back to the corridor where you fried those pursuing Elite Guards. Go back to the hole next to the diagonal beam and this time drop down. As you do, three more enemies run into the courtyard. As they do that, sprint up to where that hidden para stood, but don't round the corner. Stay back a little. It will give you a good vantage point.
|
|
|
|
|
|
|
|
|
|
|
|
|
 |
|
|
|
|
|
From here the Thompson will make short work of these two.
|
|
|
|
|
|
|
|
|
|
|
|
|
 |
|
|
|
|
|
Turning about and leaning will let you burn this para. You may need to edge out to lure him forward.
|
|
|
|
|
|
|
|
|
|
|
|
|
 |
|
|
|
|
|
Ignoring two large oak doors (more about them later), going through the door the last three enemies rushed out of takes you to these stairs. Go up and lean around the corner.
|
|
|
|
|
|
|
|
|
|
|
|
|
 |
|
|
|
|
|
Two more enemies await behind this door. Go through that far door when you can.
|
|
|
|
|
|
|
|
|
|
|
|
|
 |
|
|
|
|
|
There are only two more left to deal with on this level. One stands at the bottom of this ladder. If you let him see you, he rushes around and climbs the ladder with his back to you. An easy target as he ascends.
|
|
|
|
|
|
|
|
|
|
|
|
|
 |
|
|
|
|
|
The other is just out of sight through that small arch. A well placed squirt or two from the flamer takes him out easily.
|
|
|
|
|
|
|
|
|
|
|
|
|
 |
|
|
|
|
|
Climb down to where he was. Pull this lever and watch the gates open up. Backtrack to the courtyard.
|
|
|
|
|
|
|
|
|
|
|
|
|
|
|
|
|
|
|
|
|
 |
|
|
|
|
|
Just before you go through the door on the left to the courtyard note that other door a bit further up on the right. Next to it a wall switch will open it. This will allow you to explore earlier parts of this level and stock up on everything that you may have missed or did not need at the time. Do so as you will need it soon.
|
|
|
|
|
|
|
|
|
|
|
|
|
 |
|
|
|
|
|
Go through the opened gates in the courtyard.
|
|
|
|
|
|
|
|
|
|
|
|
|
|
|
|
|